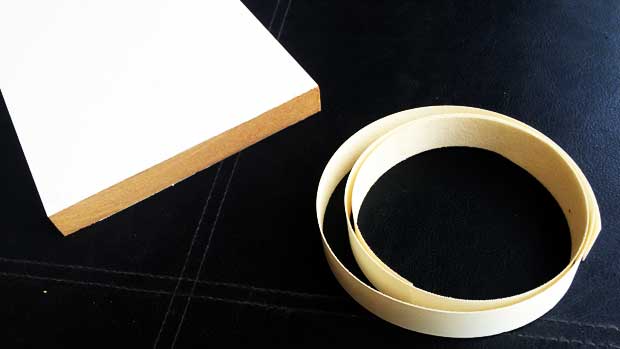
Edging tape is needed to cover the exposed ends on some plinth at the end of a kitchen run where the plinth returns, or if you are using a piece of plinth material as a filler where you want the exposed edge covered.
The edging tape that we supply for this comes in 1 meter lengths and it is 22mm wide. Here is a guide on how to apply it your plinth.
How to apply edging tape
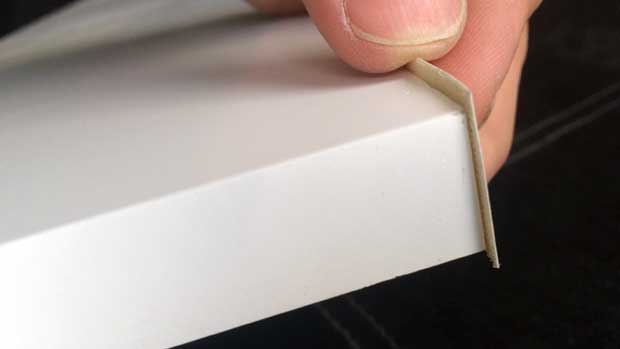
(1) Get the piece of plinth with the exposed edge and cut off a piece of edging tape that is about 6mm longer than it needs to be.
(2) Now place the edging tape on the plinth so that it overhangs all sides, as shown below. This is required so that it can be cut down later to give a clean edge.
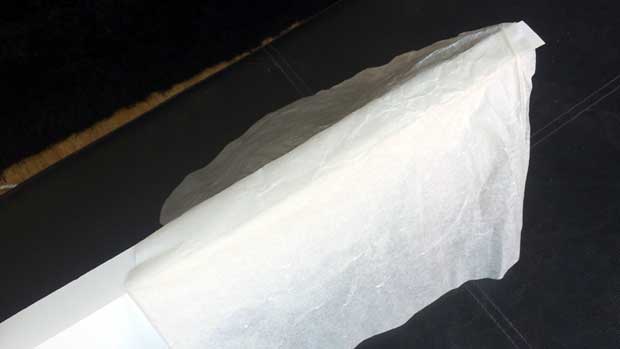
(3) Now this way not be written in many text books but I use some grease proof paper to line the area that I’m about to iron (If you saw the bottom of my iron then you would know why!) The grease proof paper will protect the edging tape from any possibility of muck or burning.
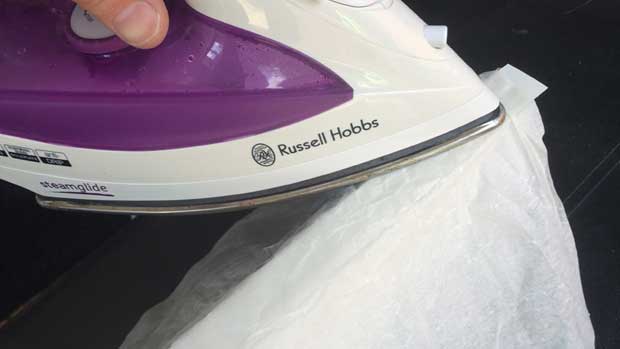
(4) Now, get your iron out and turn it to a moderate setting and start to iron the edging tape onto the plinth. Please ensure that you use the tip of the iron and iron about an inch at a time, this will allow you to ensure that the edging tape stays square with an equal amount of overhang along it.
When you have finished ironing, let the edging tape completely cool. When cool check all edges and ensure that it has stuck properly, if not, re-iron on any loose bits. Do this now or feel the pain later:-)
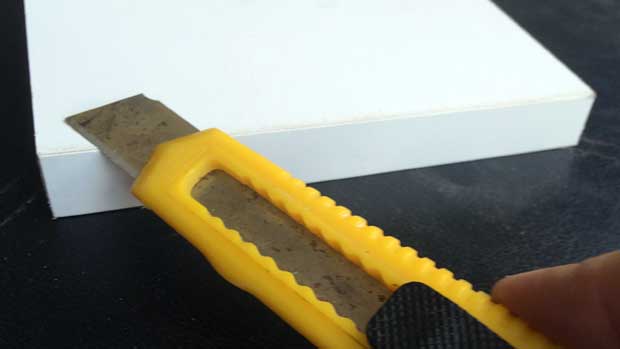
(5) Now it’s time to trim the sides. This is the hardest bit, so make sure you have a sharp knife and keep the blade as flat as you can as you start to trim the ends. If the blade is angled then it can start to cut into the plinth, which you do not want to happen! If you do make a mess here, you can always use some touch up paint to hide any imperfections.
At the end of this process, if there were any rough edges, you could always file them down with a file or use some very fine sandpaper to smooth off the edges.
Download our mobile app
Looking for some kitchen inspiration? Take a look at some of our real customer kitchens, video reviews as well as advice in our mobile app. We’ll also keep you up to date with any new ranges and offers that we have available.
Up to 50% off competitor kitchen prices
At DIY Kitchens, not only do you get a quality rigid built kitchen but you also get it at a fabulous price too! Price your kitchen up on our site and you could see savings of up to 50% off other kitchen quotes that you’ve had.
Take a look at our kitchen price comparison page here.
Real customer kitchens
Get some inspiration for designing your own new kitchen with over 3,000 pictures of our customers’ kitchens that they ordered from us.
Hi can we use edging tape on a dove grey TG tall end panel which has been cut to the right depth however the cut part is visible is exposed as it is not flush with the wall or what else can you recommend.
Hi, as the edging strip is only available in the carcass material, this is not something which you should be using on the door material end panels.
If you do need to re-finish the panels, you would usually do this by using touch up paint.
Do you have a link to edging tape as I cant find it anywhere.
Also is 2.4 the longest length plinth you have in Luca ? How do you join a plinth so that it looks nice and neat ?
Hi, I have placed the answer to your question on the page below.
https://advice.diy-kitchens.com/customer-questions/luca-edging-tape-for-plinths/
The upper and lower edges of the plinth you have provided are not coated with any protection. What treatment should I provide on the floor surface to prevent the absorption of moisture when the floor is cleaned ? I think if it is left as it is then the plinth will swell up and be ruined. The previous kitchen had a clear plastic section that wrapped around the base to prevent this. I am thinking of coating it with epoxy resin.
Mike Adams
Hi,
There are some of the clear plastic plinth strips on the website, this comes in 2 widths depending on the thickness of your plinth, you could use the epoxy resin or some waterproof pva woodglue to coat it with.
I have found that the problem with the clear plastic trims are that they can become discolored after time. Does anyone make them in white or mussel to suit the 19mm panels? I can get trims in white for narrower panel so maybe I will have to reduce the thickness of the panels.
For a far better trimmed finish I use one of these: http://www.axminster.co.uk/edge-banding-trimmer which does a great job. Make sure you set it up on a piece of scrap first, then off you go! Hold the workpiece firmly in a vice and use a similar movement to planing, ie a constant and smooth force.
For the short edges you can buy an edge-banding end trimmer http://www.axminster.co.uk/edge-banding-end-trimmer or use a good pair of scissors as a guillotine, holding one blade fixed against the ironed-on piece and carefully bringing up the other blade to trim it from below as you close the scissors.
I tend to trim just proud of the required level and finish off with a sanding block, but be careful with some surfaces (eg IKEA!) as their foil is only a few atoms thick and can easily be sliced off regardless of how careful you are!
I have a 2cm gap to fill in next to a tall unit and a wall. I’m not going to buy an end panel as it would never be seen, so instead i’m going to fill it. Would it be best to use a filler panel listed on your site or a piece of plinth? Also, what is the width of your filler panels as it only shows the length and depth on the website, I assume 20mm?
The best option would be to order a length of plinth in the door colour as all the fillers are in carcase material, or if you have a tall end panel fitting on any of the units this will be oversize so you will have an offcut to make a filler.The thickness of the board is 18mm.
150mm is fine thanks
Thanks
We also have 100mm plinth as well. This is a non standard plinth, if you wish to use this you will require 100mm legs fitted to all carcasses. This can be requested from our sales team.
How tall is your plinth?
Standard plinth is 15cm tall.