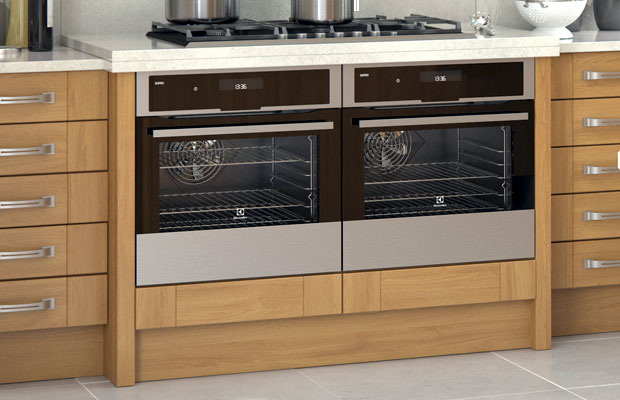
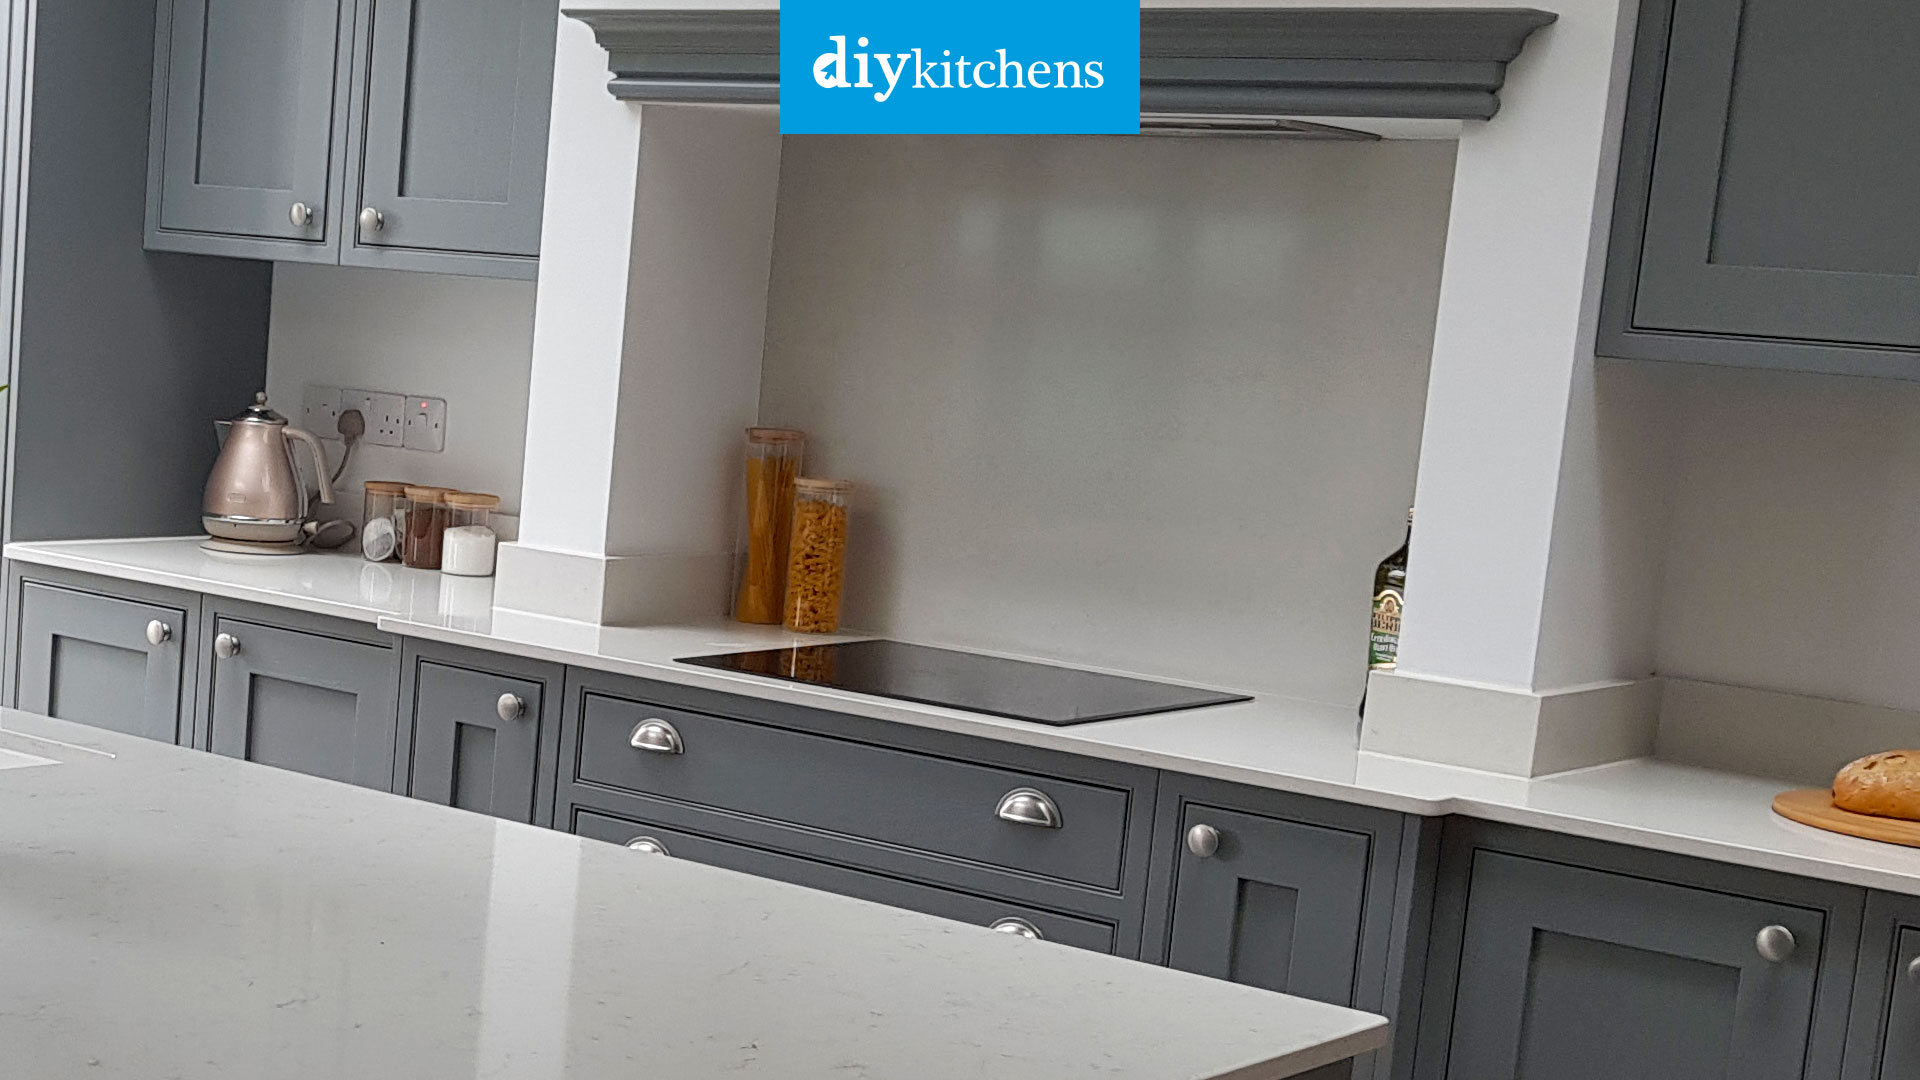
First of all, you’re probably asking the question, what is a kitchen breakfront? Well the simple answer is to look at the image below and you’ll see what I mean. The 2 ovens side by side are set forward to give the breakfront effect.
Why would I want a kitchen breakfront?
A breakfront in a kitchen is not essential, you can create your kitchen without it, and much cheaper, but if you want to make your kitchen stand out from the crowd then this little feature is something to consider.
As well as a head turner, the breakfront will also give you more work surface space as the units have to be pushed forward. So, this is something to remember as the section of worktop covering this area will need to be bigger in depth.
If the depth of the worktop is sufficient, some people opt for a downdraft extractor that is built into the worktop to deal with removing steam and cooking smells from the kitchen.
Or, if you fancy it, you could even position your sink in the breakfront. This would good a really nice feature to the kitchen, especially if the sink is under the kitchen window.
How do I create a kitchen breakfront?
To create the kitchen breakfront is pretty simply really. What you’ll need is as follows:
1 x piece of plinth or off cuts. This is needed to push the feature end post out and to give the unit something to screw into to secure it.
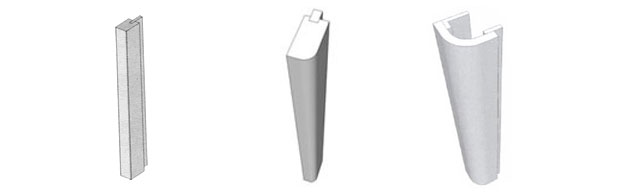
2 x feature ends. These come in a few different designs, depending on the kitchen that you choose. A few examples are shown below. If the feature end post is rounded, then this is called a radius feature end.
1 x end panel, which you can cut into 2. You’ll need this so that the screws have something to go into when you attached the feature end posts.
If you have a range cooker that will be going into the gap, then gas regulations say that there should be a gap either site of the cooker.
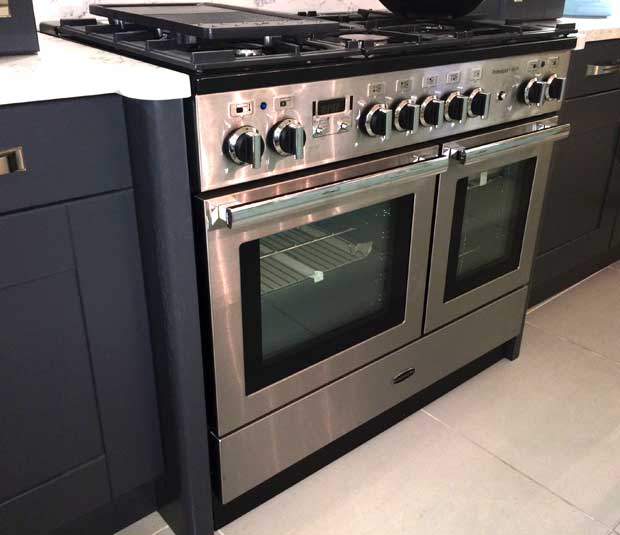
With this in mind, you may need a complete end panel attached to each of the feature ends to give a tidy finish to the kitchen, as you may be able to see down the sides of the range cooker. If you’re lucky, you may get away with cutting 1 end panel in half, and use half each side, so that the parts the eye can see are covered.
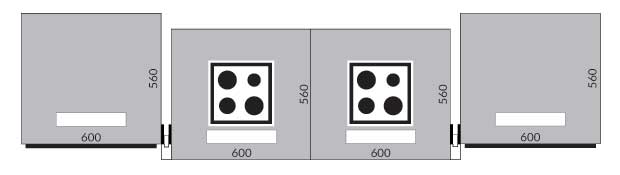
Aerial view of feature end post and fitting visual
As you can see from the diagram below, a small bit of plinth is placed between the outside unit and the feature end post to push the feature end out and to give you something to secure the feature end post to the unit. An end panel, chopped in two, can be used on the exposed side that your oven will slot into.

If you were to have 2 built under ovens in the kitchen breakfront, then you would not need to use an end panel as it would never been seen. Just pieces of plinth would suffice here. See below.
One thing you need to remember is that there is space behind the 2 units in the breakfront. You may need some kind of supports behind them to the wall, to ensure that the units are secure.
Other examples
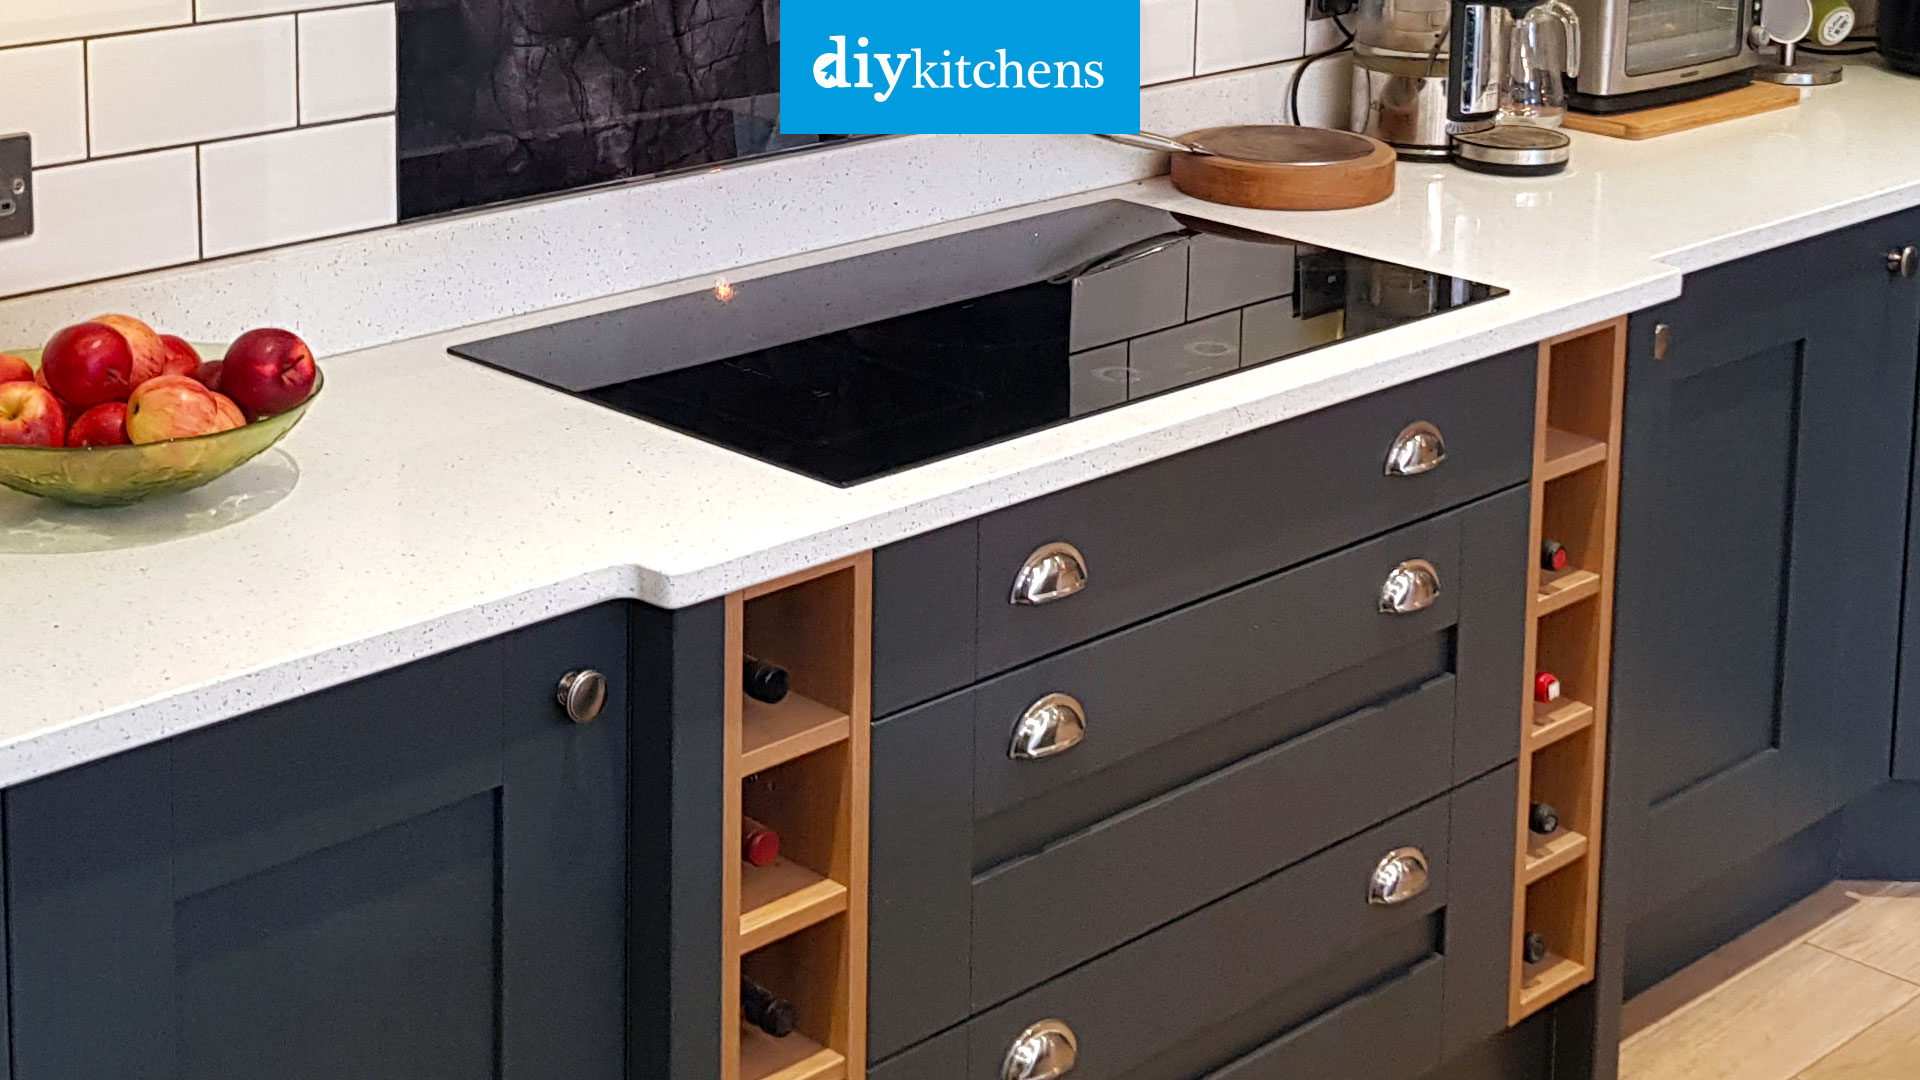
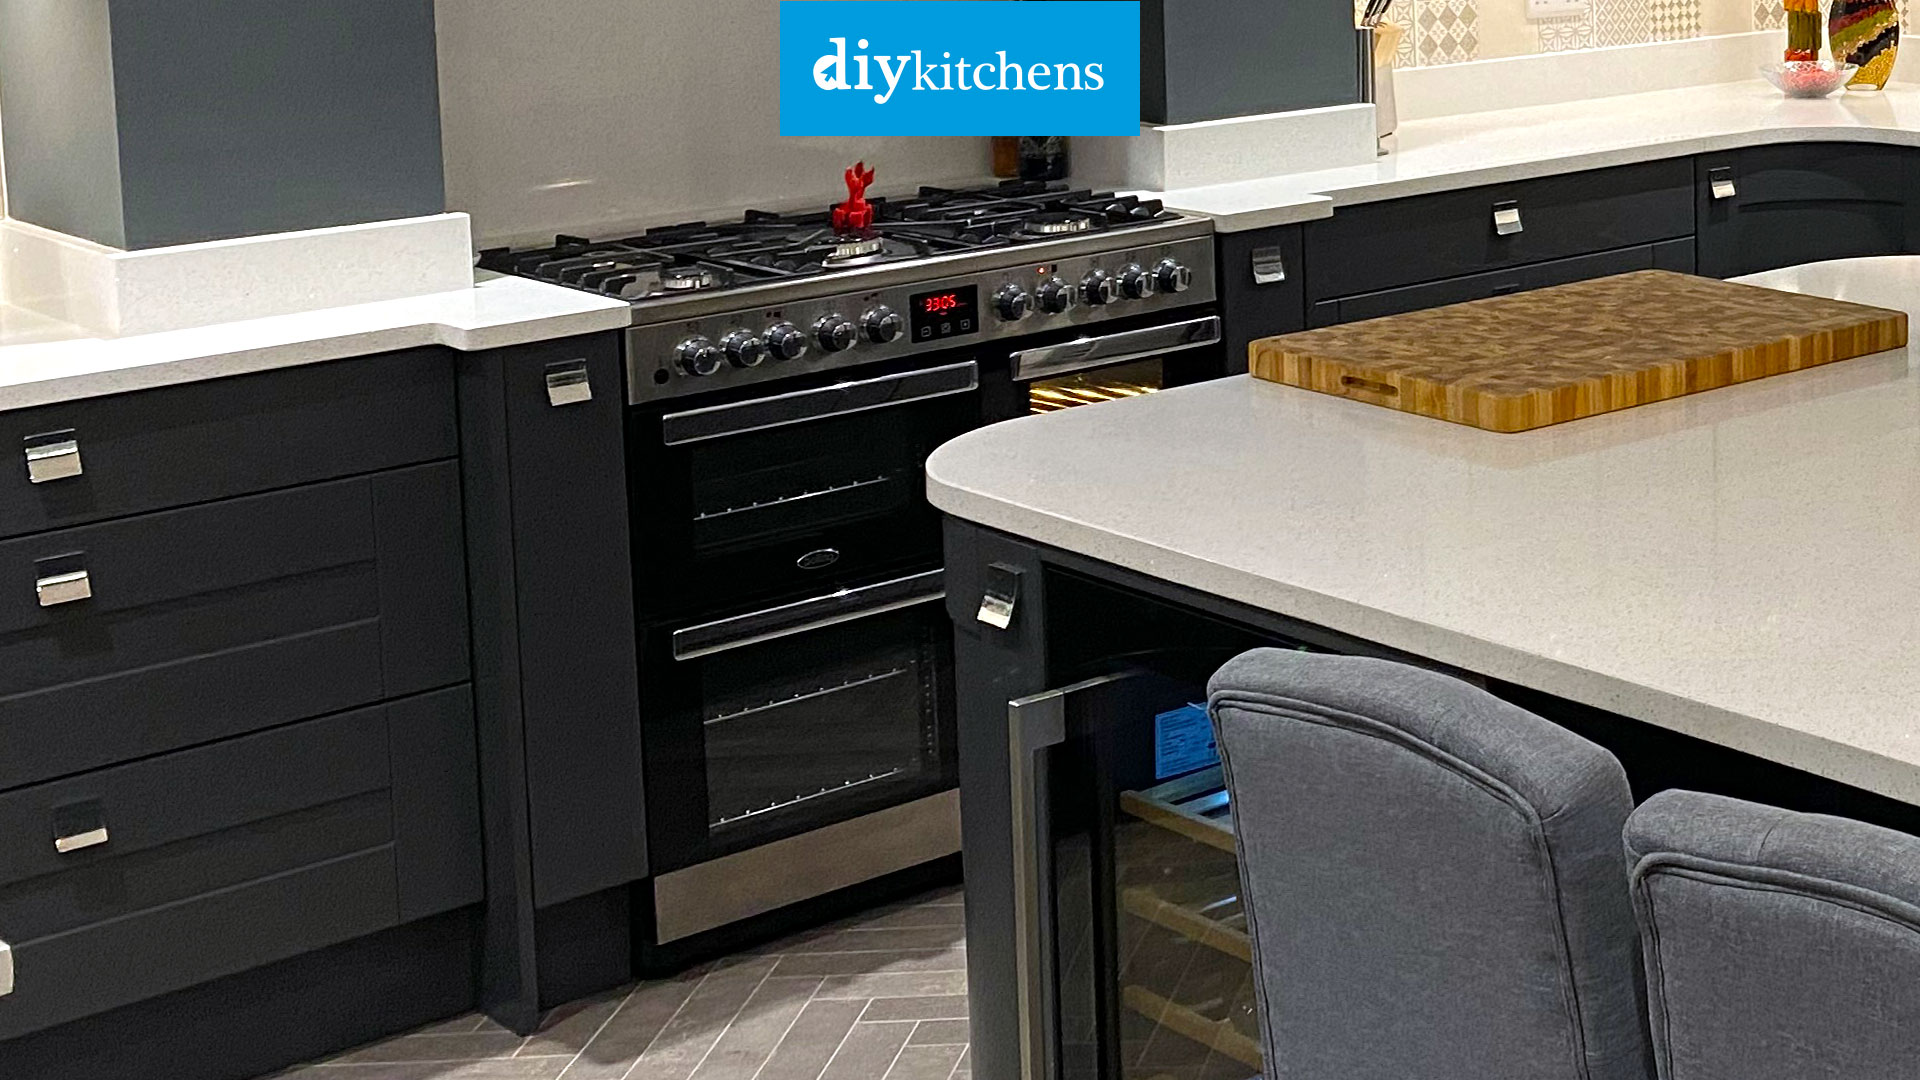
Here are some other examples of kitchen breakfronts used in our customers’ kitchens.


Download our mobile app
Looking for some kitchen inspiration? Take a look at some of our real customer kitchens, video reviews as well as advice in our mobile app. We’ll also keep you up to date with any new ranges and offers that we have available.
Up to 50% off competitor kitchen prices
At DIY Kitchens, not only do you get a quality rigid built kitchen but you also get it at a fabulous price too! Price your kitchen up on our site and you could see savings of up to 50% off other kitchen quotes that you’ve had.
Take a look at our kitchen price comparison page here.
Real customer kitchens
Get some inspiration for designing your own new kitchen with over 3,000 pictures of our customers’ kitchens that they ordered from us.
I’m having a breakfront in my kitchen that will have 2 built under ovens in it. My question is, how do the 2 Malton oak tall feature end posts get attached to the units? Screws, glue also, which unit do they attach to? The one on the left and right of the breakfront or the units inside the breakfront area i.e. the 2 oven housings?
Hi, secure the feature ends by screws accessed via the inside of the oven housing before fitting the ovens. Depending on the depth of the breakfront you will probably need a section of plinth material to screw to the exterior of the feature end as it is only 50mm deep.